
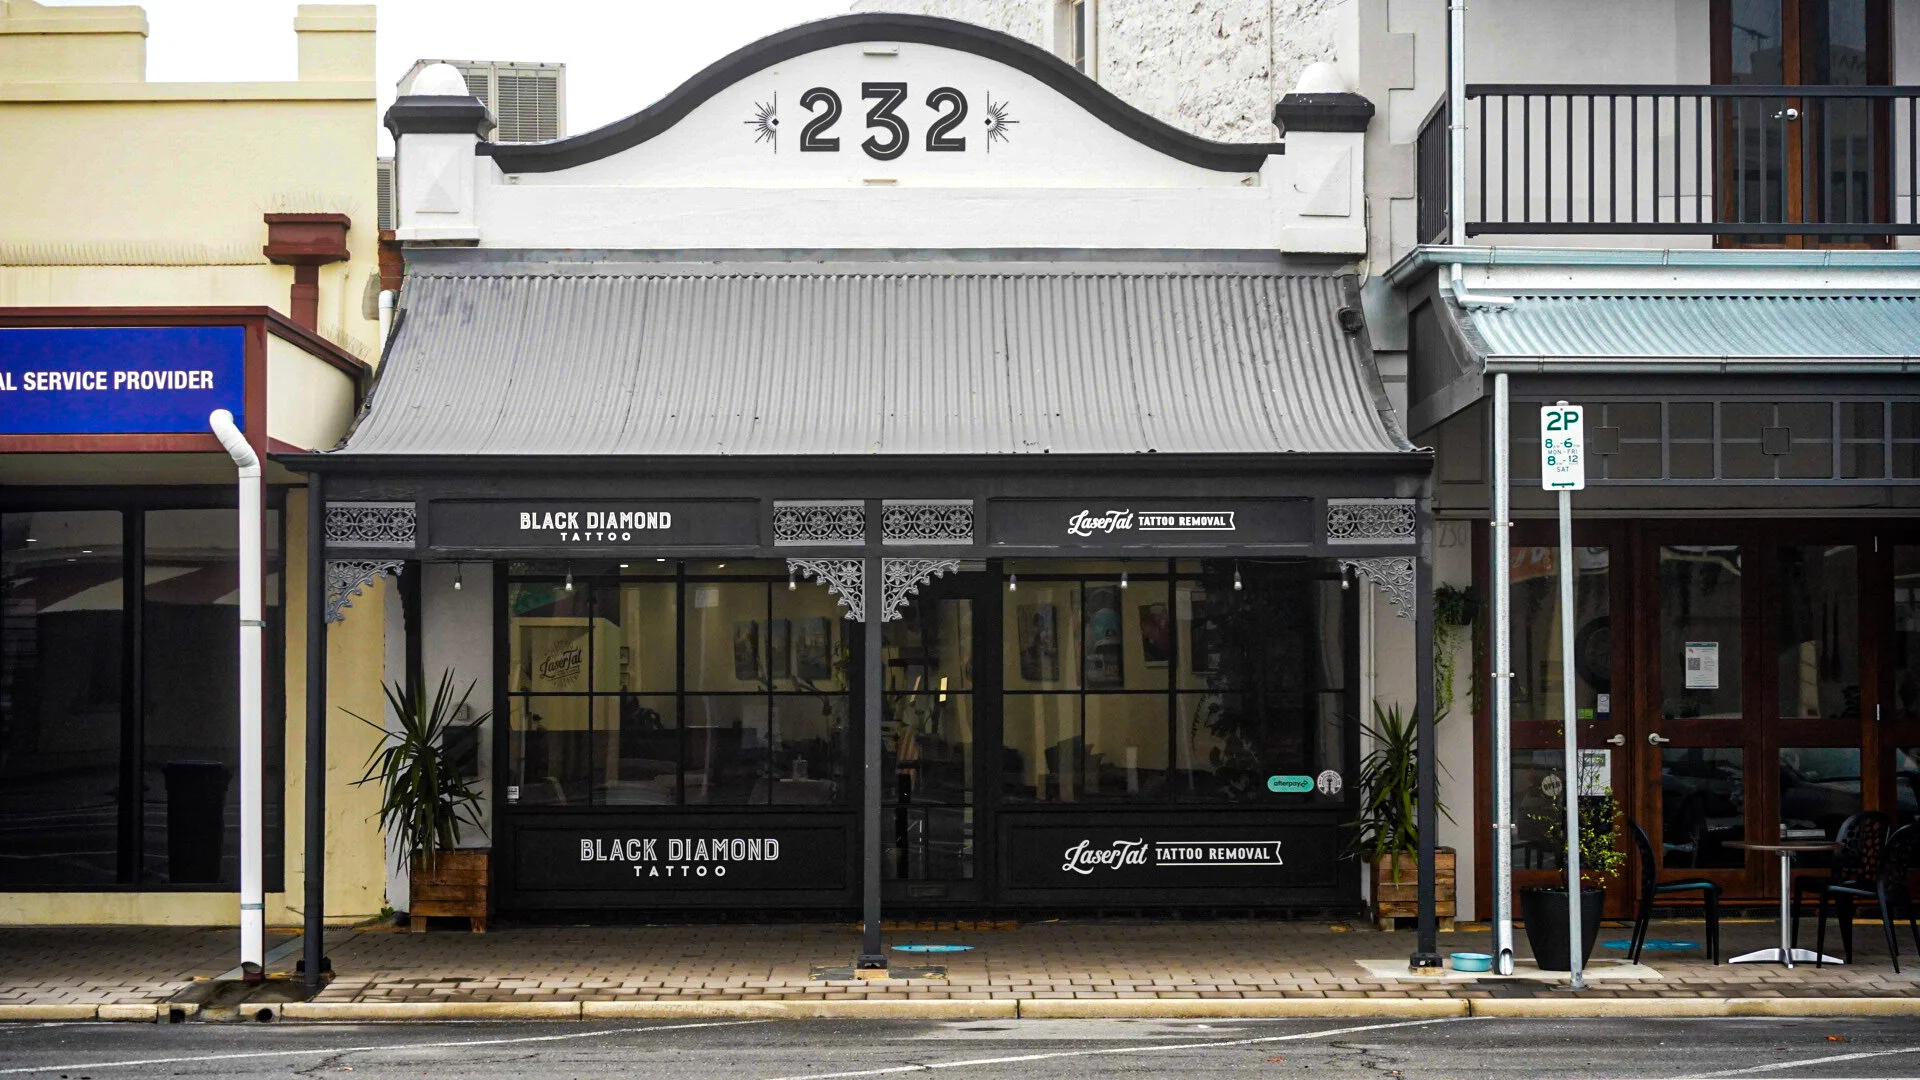
Arriving for your first tattoo
Step 1
It is important to ensure that prior to your appointment that you have eaten properly, and are hydrated to help prevent you from feeling light headed during the tattoo. We provide a range of snacks and drinks to keep you sustained during the tattooing process.
Step 2
There is free 2 hour parking out front of the studio and on the side street alongside the shop. For full day sits there is unlimited parking next to the police station on Lipson Street which is only a short 2 minute walk away.
Step 3
It is always a good idea to arrive 10 minutes early to your appointment to give you time to complete your consent form. When arriving at Black Diamond Tattoo, you will be greeted by our studio assistant Tayla, and asked to complete your consent form. If you have any questions about the consent form you are always welcome to ask and we will be happy to talk you through it.
Step 4
Once your consent form is complete your artist will sit down with you to show you the design which they have drawn up for you. Not all artists send through designs prior to the appointment as they aim to make the experience personal, and when designs are shown around to friends prior to a booking you will often get ten different opinions from ten different friends, which can take away from the experience. If there are changes you wish to make to the design this can be discussed with the artist, and changes can be made.
Step 5
The next step is sizing up the tattoo. The artist will often print off multiple sizes to see exactly how big you want the tattoo to be. Once a design and size has been chosen the artist will draw up the stencil to be applied. The stencil is merely an outline made from carbon print which is applied to the skin to allow the artist to see where the tattoo will be placed and to work with their reference image. The stencil gives you the opportunity to look in the mirror and see exactly where the tattoo will be. If it isn’t in the position that you want it can be easily wiped off, and a new stencil done to ensure that you are happy with the placement and size. Prior to applying the stencil your artist will disinfect the area and shave the area.
Step 6
The stencil is left for 10-15 minutes to allow it to dry before beginning the tattoo. At this point you will either sit or lay down, depending on where the tattoo is. We also have privacy screens which can be set up if the tattoo is in any discreet areas on the body or they can also be requested if you would prefer to be tattooed in private. We offer iPad’s and headphones to all clients who are looking for a distraction whilst being tattooed so feel free to ask if you would like to be set up with one. If you would prefer however you are also welcome to sit and make conversation with your artist and watch as they work.
Step 7
A very common question is what does it feel like? And, does it hurt? Tattooing involves repeatedly piercing the skin’s top layer with a sharp needle covered with pigment. So generally getting tattooed does hurt, though some people may experience different levels of pain. A general rule is the least painful places to get tattooed are those with the most fat, fewest nerve endings, and thickest skin. Whilst the most painful places to get tattooed are those with the least fat, most nerve endings, and thinnest skin. More bony areas such as elbows often hurt a lot more as well.
Step 8
The tattooing process can take some time, especially for large scale tattoos. If at any point you want to take a break to go to the bathroom or to just have a break from being tattooed just let your artist know and they will be happy to oblige. Our toilets and lunch area are located at the rear of the building and your artists will direct you to these facilities on the day should you need them.
Step 9
Once the tattoo is complete your artist will either wrap it in glad wrap to protect it till you get home, or apply a ‘Second Skin’ depending on what the artist thinks is most appropriate. You will also be provided with a take home bag complete with aftercare instructions, a Black Diamond Tattoo sticker and a sachet of Hustle Butter, our aftercare product of choice. We also sell tubs of Hustle Butter for anyone who wishes to purchase some for the duration of the aftercare process.
Step 10
Payment for the tattoo is made directly to your artist, not the studio and can be made in either cash or via bank transfer.
Step 11
The healing process can take anywhere from 2-4 weeks and it is important that you follow all aftercare instructions during this time to ensure that it heals properly. Our artists will do a free touch up of the tattoo should any ink have fallen out during the healing process during the first 3 months.
Some other things to note:
What should I wear?
When possible it is always a good idea to wear clothing which exposes the area being tattooed (e.g. for an upper arm tattoo wearing a singlet can be a good idea). For some tattoos it may be necessary to remove items of clothing, this is often the case with tattoos located on areas such as the back or ribs. If the tattoo is in a discrete area we have screens that can be put up around you and your tattoo artist for privacy.
Can I use numbing cream?
Some artists prefer that you don’t use numbing cream as it can often make the skin become tougher and therefore harder to tattoo. If you are concerned about the pain and are wanting to use numbing cream it is best to get in contact with your artist.
We are always happy to answer any questions you may have, so head over to our contact page and get in touch!